Saul
Your home is more than just a place to live—it’s a reflection of you. Keeping it well-maintained not only boosts its curb appeal but also enhances its value. One of the most important, yet often overlooked, aspects of home maintenance is regular painting. Whether it’s the interior or exterior, fresh paint not only keeps your home looking beautiful but also helps protect it from the elements. However, over time, your home’s paint will naturally wear down. How can you tell when it’s time to repaint? Here are five signs that your home may need a fresh coat of paint, along with actionable steps to take next.
Sign 1: Peeling or Cracking Paint
What it means:
Peeling or cracking paint is one of the most obvious signs that your home needs a repaint. Over time, paint can begin to deteriorate due to various factors such as moisture, age, or poor application. When paint starts to peel, crack, or chip away, it exposes the underlying surface to the elements, which can cause further damage.
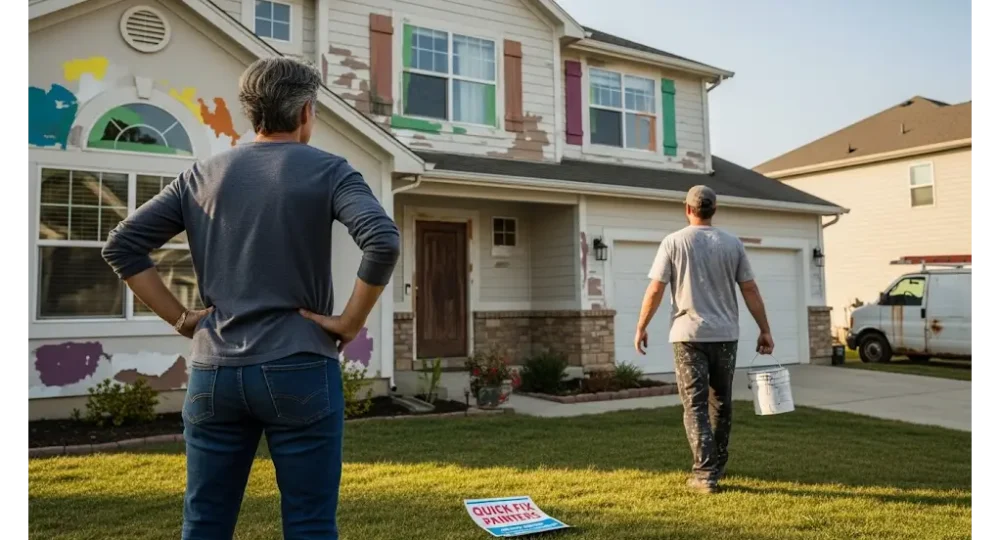
What to do next: If you notice peeling or cracking paint, it’s crucial to address it promptly to prevent long-term damage. First, assess the extent of the peeling—if it’s localized to small areas, you may be able to spot-repair those sections. However, if large patches are peeling, it’s best to repaint the entire surface.
For exterior areas, start by scraping off any loose paint with a paint scraper. For interior walls, you can use a utility knife to carefully remove any peeling sections. Once the surface is clean, sand it down to smooth out any rough spots. For both exterior and interior spaces, ensure the surface is dry before applying a fresh coat of paint. Applying a primer may also be necessary to ensure proper adhesion and long-lasting results.
Sign 2: Fading Colors
What it means:
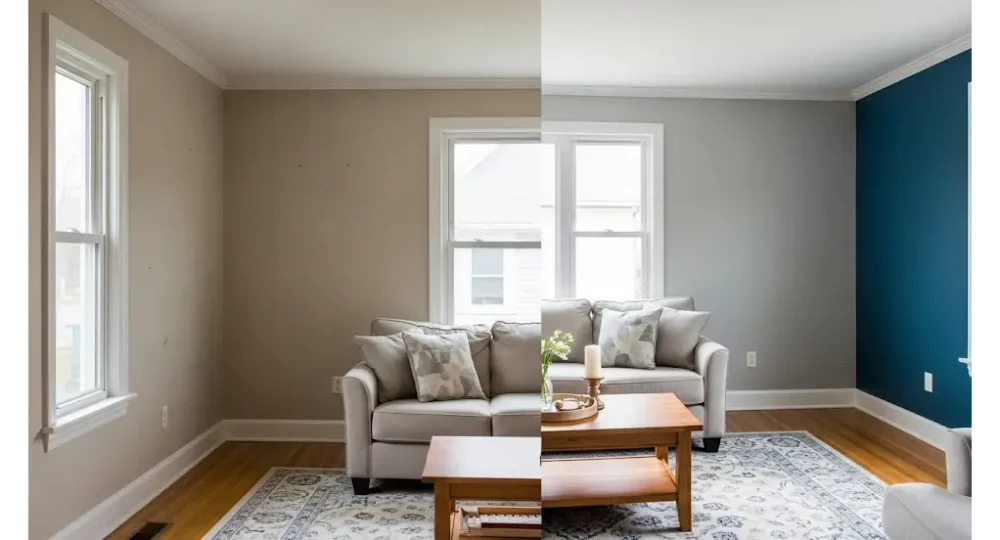
Fading colors are another common sign that your paint is losing its integrity. Over time, UV rays from the sun cause paint to fade, especially on exterior walls. Interior walls may also experience fading due to regular exposure to sunlight, heat, or humidity. Faded paint not only looks less appealing, but it also means the paint’s protective properties are diminishing.
What to do next: If your paint has faded, it’s a good idea to refresh the color. For both interior and exterior surfaces, start by cleaning the walls to remove dirt and debris. Once the surface is prepped, consider whether you want to restore the original color or experiment with a new one. When repainting faded areas, choose a high-quality paint with UV protection for the exterior to help prevent future fading.
For interior walls, consider using paints with higher durability, such as satin or eggshell finishes, which tend to retain color better than flat paints. If you’re in a sunny room, be sure to choose colors that are less prone to fading and opt for paints designed to handle environmental factors.

Sign 3: Mold or Mildew Growth
What it means:
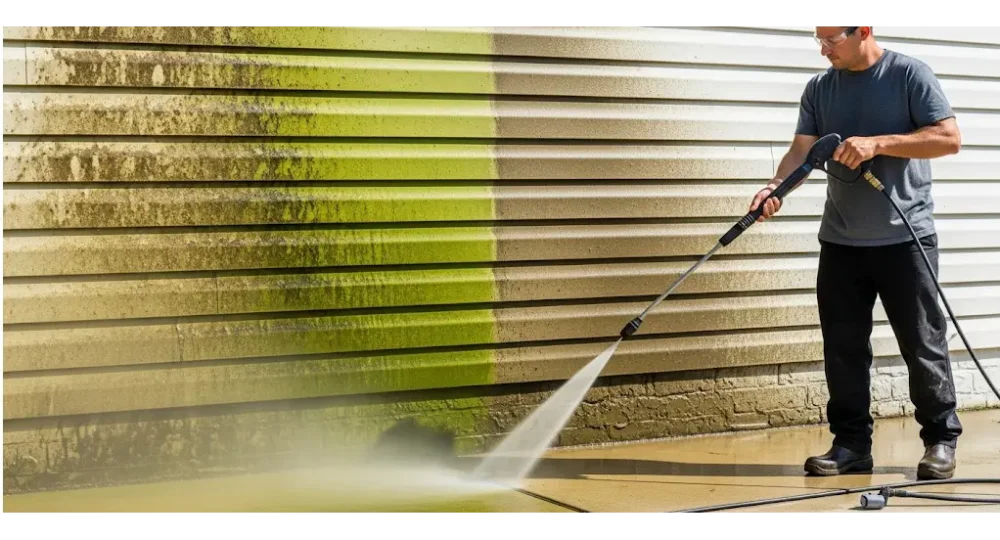
Mold and mildew thrive in damp and humid conditions, and unfortunately, your home’s paint can be a breeding ground for these unwanted fungi. If you notice black spots or discoloration along your walls, ceilings, or trim, it’s likely mold or mildew. Left unchecked, mold can cause serious damage to both the paint and the underlying surface, and in some cases, it can even pose health risks.
What to do next: If you spot mold or mildew on painted surfaces, it’s essential to clean and treat the affected areas before repainting. Start by scrubbing the area with a mixture of water and mild detergent. For more stubborn mold, use a solution of one part bleach to three parts water. Make sure to wear gloves and protect your eyes and lungs while working with bleach. After cleaning, allow the area to dry completely.
Once the area is clean and dry, you may need to use a mildew-resistant primer before repainting. This type of primer helps prevent mold and mildew growth in the future. When repainting, choose paints that are specifically formulated for high-humidity areas, such as bathrooms or kitchens, to ensure better resistance to mold and mildew.
Sign 4: Stains or Discoloration
What it means:
Stains or discoloration on walls or ceilings can be caused by a variety of factors, including water leaks, smoke, cooking splatters, or even pets. Over time, these stains can create unsightly marks that detract from your home’s overall appearance. Some stains, such as watermarks, could indicate more serious issues, like plumbing leaks, that need to be addressed before painting.
What to do next: If you’re dealing with surface stains or discoloration, begin by cleaning the area thoroughly. For water stains or smoke damage, you may need to apply a stain-blocking primer to prevent the discoloration from bleeding through the new paint.
Before applying a new coat of paint, ensure the underlying issue (such as a leak or ventilation problem) has been resolved. Once the surface is clean and dry, choose a paint with stain-blocking properties to ensure that old stains don’t resurface. You may also want to choose a more durable finish for areas prone to spills or dirt, such as semi-gloss for trim or cabinets.
Sign 5: Deterioration of Wood or Surface
What it means:
Wood surfaces, whether on the exterior or interior of your home, can begin to deteriorate over time. This can occur due to exposure to the elements, moisture, or simply the natural aging process. Wood that is peeling, warped, or showing signs of dry rot requires immediate attention, as it can compromise the structure and integrity of your home.
What to do next: When dealing with deteriorated wood, it’s crucial to first address the cause of the damage. Check for water leaks, inadequate ventilation, or other issues that might be contributing to the wood’s deterioration. If the wood is beyond repair, it may need to be replaced entirely.
Once the damaged wood has been replaced or repaired, prep the surface for painting. Sand the wood down to smooth out rough patches, and consider using a wood conditioner or primer before applying a new coat of paint. For wood surfaces exposed to the elements, use a paint designed specifically for wood, ensuring it has UV protection and moisture resistance to prevent future damage.

Preparation Steps Before Repainting
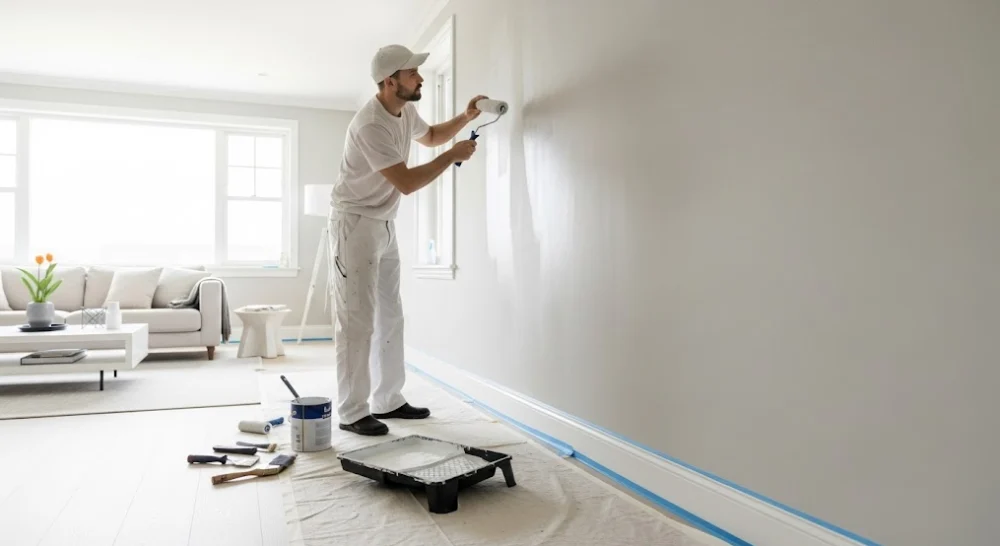
Before you grab your brushes, it’s important to properly prepare the area for painting. Here are some essential steps to follow:
- Clean the Surface: Dirt, dust, and grime can prevent paint from adhering properly. Clean walls, trim, and exterior surfaces thoroughly with water and a mild detergent.
- Repair Damages: Fill in cracks or holes with appropriate filler. For drywall, use joint compound, while for wood surfaces, use wood filler or caulk.
- Sand the Surface: Smooth out rough or uneven areas with sandpaper. Sanding ensures better adhesion for the new paint.
- Prime Where Necessary: If you’re painting over a dark color or dealing with stains, consider applying a primer to help the new paint adhere and provide a uniform finish.
- Choose the Right Paint: Selecting the right paint is crucial. For interior walls, choose a paint that suits the room’s function (e.g., washable paints for high-traffic areas). For exterior areas, use weather-resistant paint that can handle UV exposure and moisture.
DIY or Hire a Professional?
While repainting is a common DIY project, it’s not always the best option for everyone. If your home has high walls, intricate trim, or if there’s extensive damage, hiring a professional painter may be worth the investment. Professionals have the tools, experience, and expertise to get the job done efficiently and safely.
However, if the area to be repainted is relatively small and you have the time and skills, DIY painting can be a cost-effective way to refresh your home. Just make sure to follow the proper preparation steps and invest in high-quality paint and tools.
Bottom Line
Repainting your home is an essential aspect of maintaining its beauty and protecting its structure. By recognizing the signs that indicate it’s time for a fresh coat of paint, such as peeling paint, fading colors, or mold growth, you can take action early and keep your home looking its best. Whether you choose to tackle the project yourself or hire a professional, the key is to prepare properly, select the right materials, and stay on top of regular maintenance. Your home will thank you with lasting beauty and durability for years to come.
Ready to transform your home with a fresh coat of paint? At SA Classic Painting, we specialize in bringing beauty and durability to both your interior and exterior spaces. Whether you’re looking to refresh a single room or give your entire home a makeover, our expert team is here to help. Visit our website at SA Classic Painting to schedule a free consultation and get started on your painting project today! Let’s make your home look stunning—inside and out!
Share:
Related Posts

Pressure Washing in Jacksonville vs. Repainting: Which Saves More?
Property managers often feel the pressure of deciding whether to spend it on repainting their properties or getting pressure washing in Jacksonville to give their

The Red Flags of Unreliable Exterior Painting Contractors
Homeowners tend to focus on cost and schedules when they are hiring exterior painting contractors. They tend to overlook the damage that haste can do

Why Interior Painters in Jacksonville, FL, Recommend Painting Your Home
When homeowners think about updating their living spaces, they probably imagine big renovations taking weeks and costing a fortune. The fastest and most effective refreshment

How House Painters in Jacksonville Pick the Right Hues
Colors can change how a person feels in a place, change their mood, and define the overall feel of a room. A lot of people

How Interior House Painters Can Boost Your Property Value with a Fresh Look
When it comes to making a home more appealing, interior house painters play a very special role that many homeowners tend to overlook. A well-thought-out
