

So, you’ve decided to give your home a fresh coat of paint. Whether you’re looking to revitalize your living space or make a statement with bold colors, prepping your home for a painting project is crucial to achieving the best results. Trust me, a little prep work can go a long way toward making your painting experience smooth and enjoyable. Let’s dive into how you can get your home ready for that transformation!
1. Choose the Right Time
Before you even pick up a brush, think about when you want to tackle your painting project. Timing is everything! Ideally, you want to choose a season with mild weather if you’re painting outdoors, or a time when you can open windows to let in fresh air if you’re working indoors. Spring and fall are often ideal for both types of projects. Consider your schedule, too—weekends or days off can be perfect for dedicating time to your painting endeavor without feeling rushed.
2. Gather Your Supplies
Next up, gather all the necessary supplies. Here’s a quick checklist to help you out:
- Paint: Pick your favorite colors and consider whether you want matte, eggshell, satin, or glossy finishes.
- Primer: Especially important if you’re painting over a darker color or a surface that needs extra adhesion.
- Paintbrushes and Rollers: Different sizes are ideal for various surfaces, so have a few on hand.
- Paint Tray: Don’t forget a tray for easy access to your paint.
- Drop Cloths or Plastic Sheets: Protect your floors and furniture!
- Masking Tape: To get those clean lines.
- Screwdriver and Hammer: For removing outlet covers and nails.
- Sandpaper and Putty Knife: For smoothing out any imperfections.
- Cleaning Supplies: Sponges, rags, and a bucket of warm, soapy water for prep work.
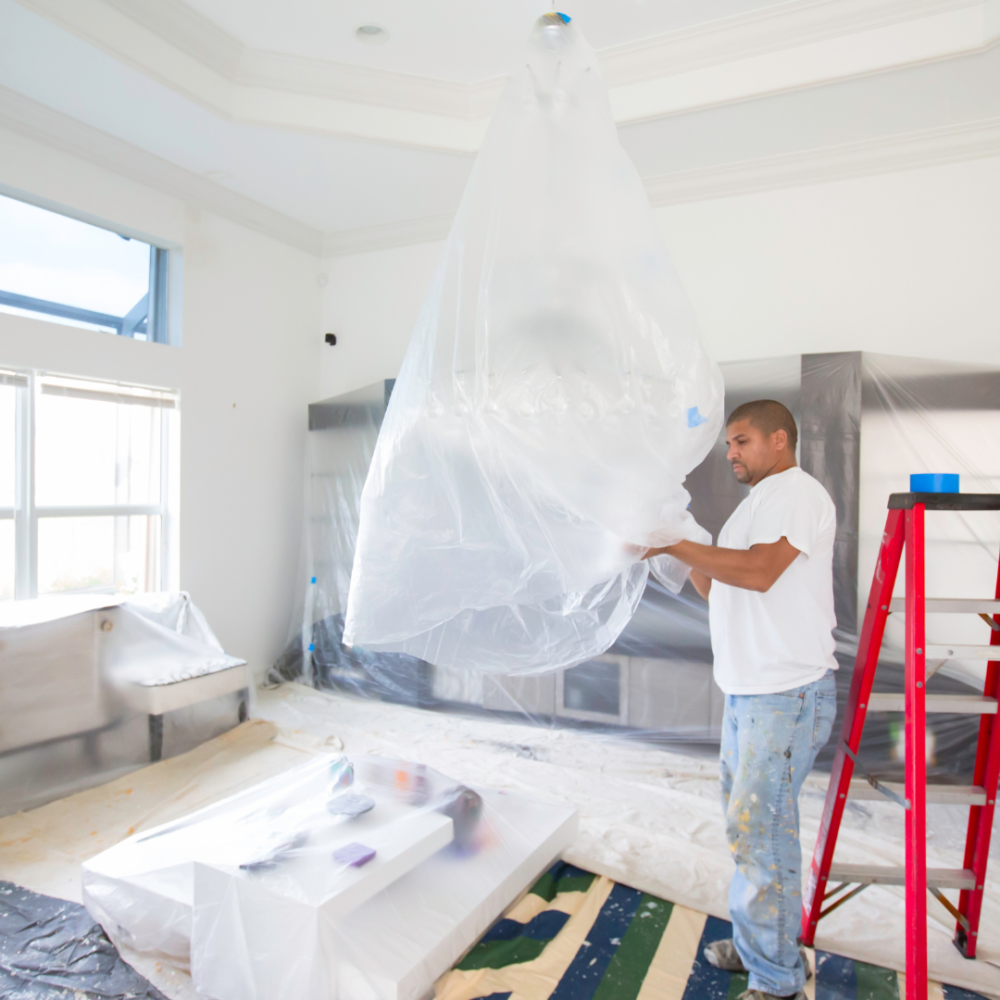
3. Clear the Area
Now that you have your supplies ready, it’s time to clear the area. Start by moving furniture out of the room or to the center and covering it with drop cloths. This includes chairs, tables, and any other items that might get in the way. If you have wall art, mirrors, or shelves, remove those, too. Trust me, nothing is worse than accidentally splattering paint on something you love.
4. Prepare the Walls
Your walls need a little TLC before they get a fresh coat. Take a close look at them—are there any holes, cracks, or blemishes? Grab your putty knife and spackle to fill in any imperfections. Once that’s dry, sand the areas smooth to ensure an even finish. Next, give the walls a good cleaning with warm, soapy water. Dust and grease can hinder the paint’s adherence, so this step is key!
5. Tape Off Edges
Now it’s time to get into the nitty-gritty of taping. Using masking tape, carefully tape off edges around windows, doors, baseboards, and any other areas you want to protect from paint. This will ensure crisp, clean lines and make your paint job look professional. Take your time with this step; it’s worth it!
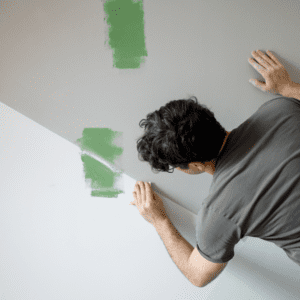
6. Prime Your Walls (If Necessary)
Depending on the color and type of paint you’ve chosen, applying a coat of primer may be necessary. Primer helps the paint adhere better and provides a more even color. If you’re painting over a darker color or dealing with stains, this step is especially important. Grab your roller and brush, and get that primer on!
7. Mix Your Paint
Once your primer is dry, it’s time to get your paint ready. If you’re using multiple cans of the same color, mix them together in a larger bucket to ensure a uniform color throughout the project. This is called “boxing” the paint, and it helps avoid any slight color variations between cans. Give it a good stir, and you’re ready to roll!
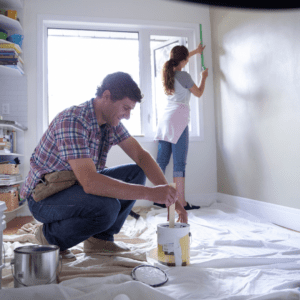
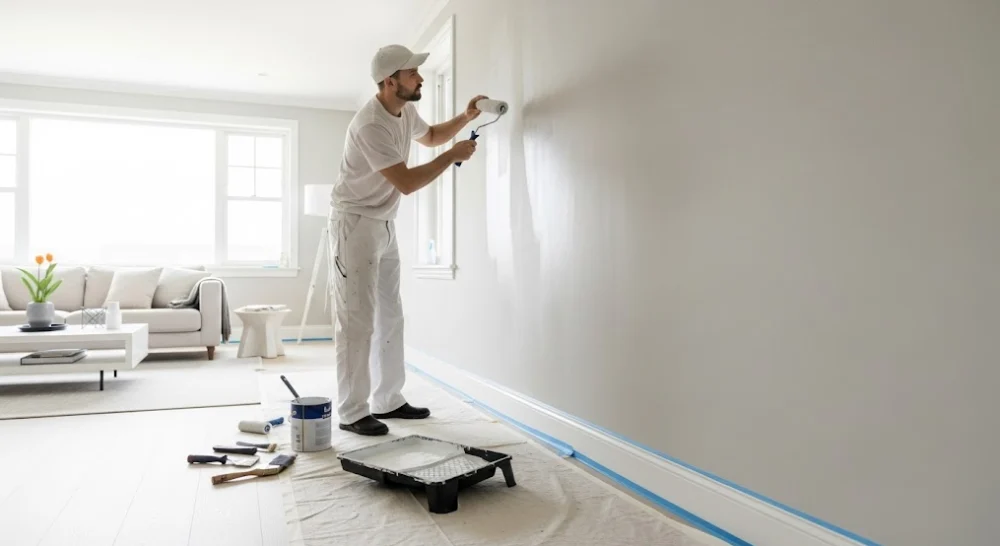
8. Start Painting
Now for the fun part! Begin by cutting in around the edges with your brush—this means painting those corners and edges where the brush is needed. Then, grab your roller for the larger surfaces. Work in small sections, and try to maintain a wet edge to avoid lines or streaks. Don’t rush—take your time and enjoy the process! You might want to play some music or a podcast to make the experience even more enjoyable.
9. Multiple Coats
Depending on the color and finish of your paint, you may need to apply a second (or even third) coat. Be sure to allow adequate drying time between coats, as specified on the paint can. If you’re not sure, test a small area first. This is also a good time to touch up any spots that need it before calling it quits for the day.
10. Clean Up
Once you’re satisfied with your paint job, it’s time to clean up. Remove the painter’s tape while the paint is still slightly wet to avoid peeling. This will give you the clean lines you’re aiming for. Clean your brushes and rollers with warm, soapy water or the appropriate solvent if you’re using oil-based paints. Proper cleaning extends the life of your tools, so don’t skip this step!
11. Let It Cure
After you’ve cleaned up, give your freshly painted walls some time to cure. Even if the paint feels dry to the touch, it can take a few weeks to fully cure. Try to avoid hanging things back on the walls or moving furniture too soon. Patience is key!
12. Step Back and Admire
Once everything is dry and back in place, step back and admire your hard work. You’ve transformed your space with a fresh coat of paint, and it’s time to enjoy the fruits of your labor. Whether you went bold with color or opted for a classic neutral, your home now feels refreshed and revitalized.
Bottom Line
Prepping your home for a painting project might seem like a lot of work, but it’s all part of the journey to achieving a beautiful result. With a little organization and care, you’ll set yourself up for success. So grab your supplies, put on your favorite tunes, and get ready to give your home the makeover it deserves. Happy painting!
Ready to transform your space without the stress? At SA Classic Painting, our professional team is here to help bring your vision to life with high-quality craftsmanship and attention to detail. Whether you’re looking for a fresh interior look or a stunning exterior upgrade, we’ve got you covered.
Visit SA Classic Painting today to learn more about our services! Let us take your home to the next level!
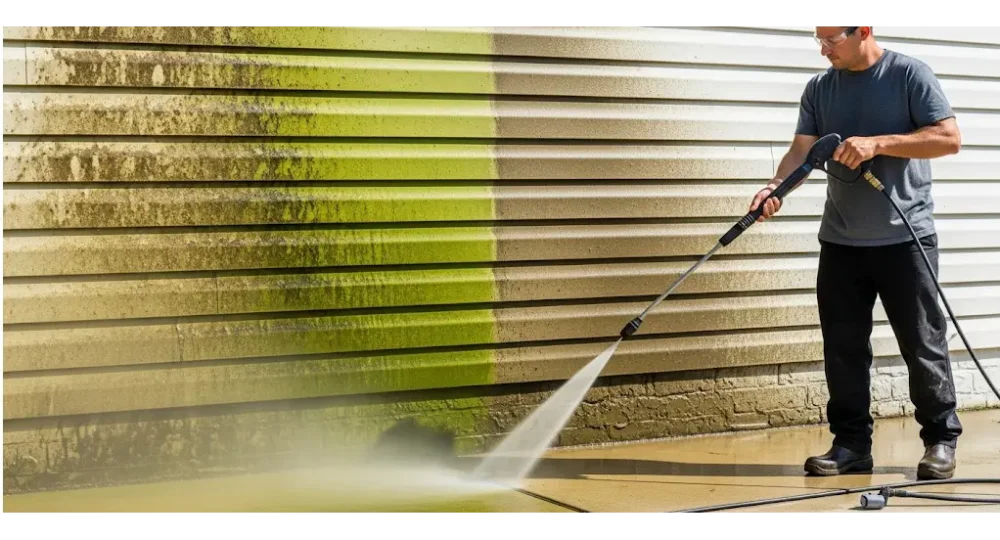
Pressure Washing in Jacksonville vs. Repainting: Which Saves More?
Property managers often feel the pressure of deciding whether to spend it on repainting their properties or getting pressure washing in Jacksonville to give their
The Red Flags of Unreliable Exterior Painting Contractors
Homeowners tend to focus on cost and schedules when they are hiring exterior painting contractors. They tend to overlook the damage that haste can do
Why Interior Painters in Jacksonville, FL, Recommend Painting Your Home
When homeowners think about updating their living spaces, they probably imagine big renovations taking weeks and costing a fortune. The fastest and most effective refreshment
How House Painters in Jacksonville Pick the Right Hues
Colors can change how a person feels in a place, change their mood, and define the overall feel of a room. A lot of people
How Interior House Painters Can Boost Your Property Value with a Fresh Look
When it comes to making a home more appealing, interior house painters play a very special role that many homeowners tend to overlook. A well-thought-out